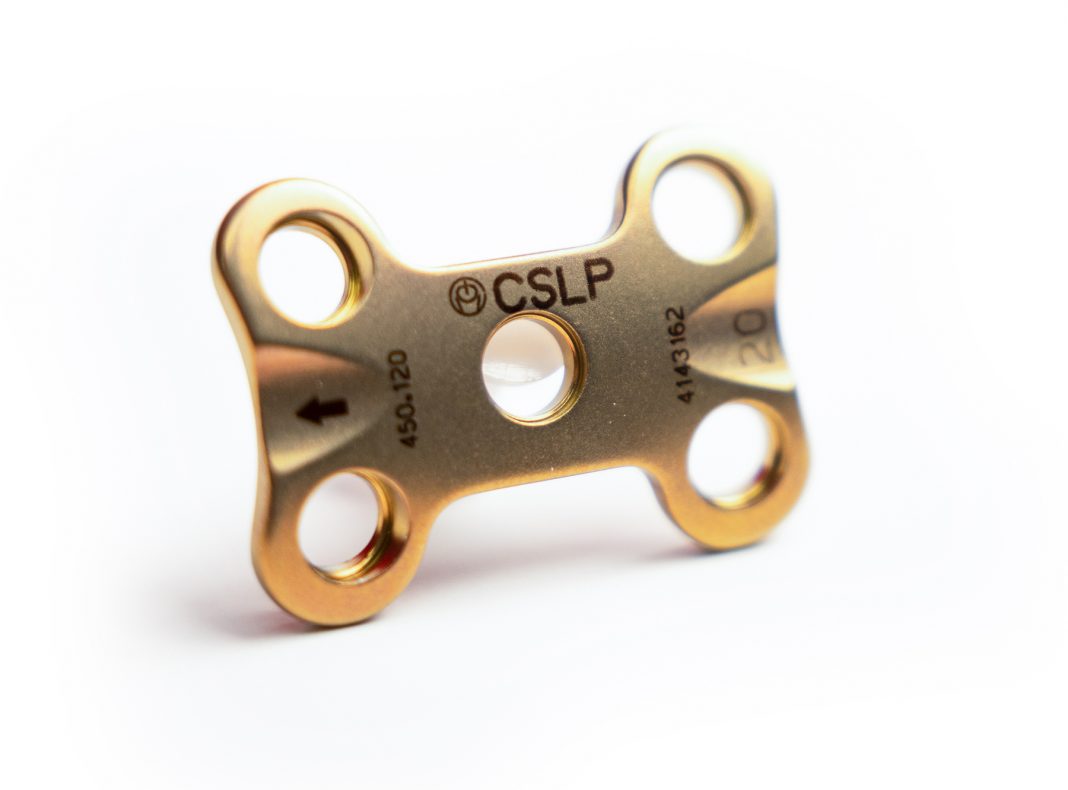
Exact Metrology: A Division of In-Place Machining Company and a comprehensive 3D metrology service provider and hardware sales company, scanned a titanium cervical spine locking plate.
The scan was completed by Brendon Belongia, an Applications Engineer at the Brookfield, Wisconsin office using the ZEISS METROTOM 6 scout.
The METROTOM 6 scout digitizes complex parts including the internal geometries at the finest level of detail. Users obtain a complete 3D image for GD&T analysis or nominal-actual comparisons. High-resolution images can be captured for precise measuring tasks or detailed inspections of internal structures. Be it shrinkage holes, pores, cracks, sink marks, or warpage, all defects or deviations can be detected non-destructively.
Furthermore, the combination of a 3k detector and 225 kV X-ray enables ZEISS METROTOM 6 scout to provide high contrast, high-resolution measurement results and exceptional sharpness of detail. As a result, even the smallest defects in the part become visible and can be analyzed to the last detail. A 5-axis kinematics with an integrated centering table helps clients optimally position the part in the measuring volume and the control of the device and the metrological evaluation of the data are combined in a single software package, making additional software or intermediate steps redundant.
With this CT scan, the company demonstrates its ability to scan even the smallest part, such as 4 mm. This vertebrae plate was measured within a 5-micron resolution and used a deviation color map with the GOM Volume Inspect software. The color representation of a point cloud or mesh data set is compared to its intended, nominal CAD model. This spectrum of colors can tell users how far a value deviates compared to the CAD surfaces. Thus, a weak spot can be detected and can be fixed before a part is used.
The ability of the ZEISS METROTOM 6 scout to see the tinniest defect or detail is especially crucial for medical devices, especially those that go into the human body.


